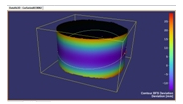
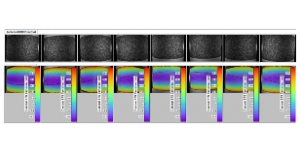
The Digital 3D Image Correlation System DIC Q 400 is an optical measuring device for true full-field, non-contact and three-dimensional measurement of shape, displacements and strains on components and structures made from almost any material.
The DIC Q 400 system is used for determination of three-dimensional material properties in tensile, torsion, bending or combined tests. In addition, deformation and strain analysis can be applied to fatigue tests, fracture mechanics, FEA validation and much more.
Its flexible design opens a wide range of applications from microscopic investigations on microelectronic or biomedical materials up to large scale measurements of aerospace, automotive, marine and railway components.
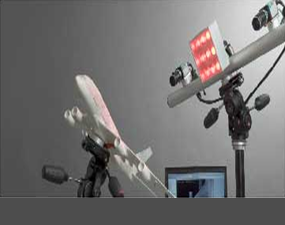
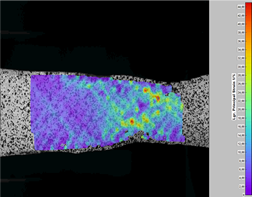
The DIC Q 400 evaluates data in real-time and enables the user to export data simultaneous as an analog voltage signal.
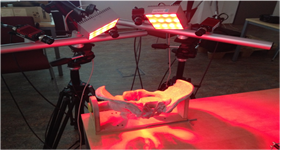
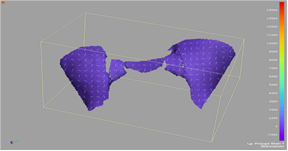
The robust software is designed in a very intuitive way. The unique HILIS Illumination module is part of the system and provides cold and extremely homogenous light and thus provides the most accurate results. The automatic calibration procedure reduces measurement time.
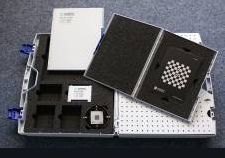
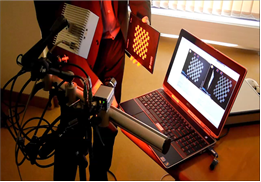
All system parameters are determined by a fast and easy calibration procedure – a very practical and simple process by positioning a calibration plate in front of the cameras. The achieved calibration accuracy is displayed online after the calibration.
An easy extension of the DIC Q 400 is from a 2 Camera to a 3 Camera system, increasing the field of measurement, improving the measurement of curved objects and increasing the accuracy. The multi camera system supports any number of cameras from 1 to 8. The system uses a cluster approach combining images without stitching and using a single global axis system. A multi camera system with 8 cameras can cover 360° of a cylinder and 4 cameras can measure both sides of a specimen to accurately determine thinning.
